 kasploosh.com
Custom Switchplate
2012-06-19
I am one who turns power strips off at night, to kill the power vampires. When I am in a room at night I don't want to see a lot of green and red eyes staring back at me. When I designed this cabinet, I knew the cabinet itself would have an on/off switch, so that you could turn the whole cabinet off.
After the design was ready, I could see there needed to be two switches, one for each side of the cabinet. That way you could have computer equipment in the left bay, and stereo equipment in the right bay, and each bay could be turned on independently. You might be using the computer, you might be using the stereo, or you might be using both.
I also planned on using lighted rocker switches, because having the switch illuminated is a great reminder that power is still on. That's how power strips and surge protectors work, and I wanted that for the cabinet.
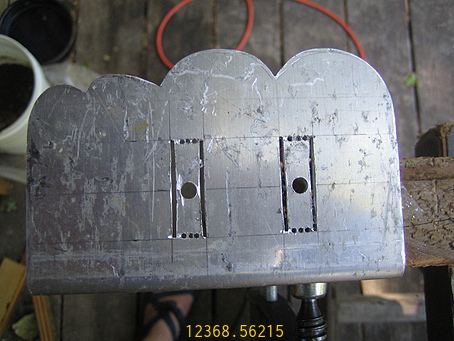
Because of how I chose to drill out the switch holes, the
switchplate really looked like it had eyes when this photo was taken.
The fact that I was using illuminated rocker switches meant I had to make a custom switchplate to hold them. The switches are meant to press into a cutout of the correct size. I decided to use some scrap aluminum to make the switchplate, because it had the correct properties for the job.
As long as I'm making a custom switchplate, and I have to cut and file scrap aluminum, there is an opportunity to do something more interesting than a square. I did some sketches for different fun shapes. The two switches quickly turned into eyes, and the switchplate started to be a cartoon character with various kinds of hair.
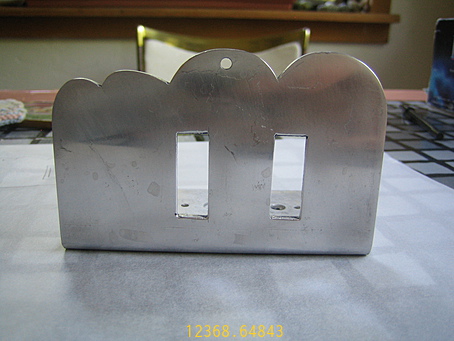
Finished switchplate (first version)
I finally settled on a design that turned the the switchplate into a cartoon cloud that reminded me of Nintendo, Mario, and Luigi (SMB3, maybe?). When I had the design, it was time to make it.
Making the switchplate involved cutting the scrap aluminum to the rough size, cutting a rough version of the design on top, and filing everything smooth. I also sanded and buffed the face of the plate.
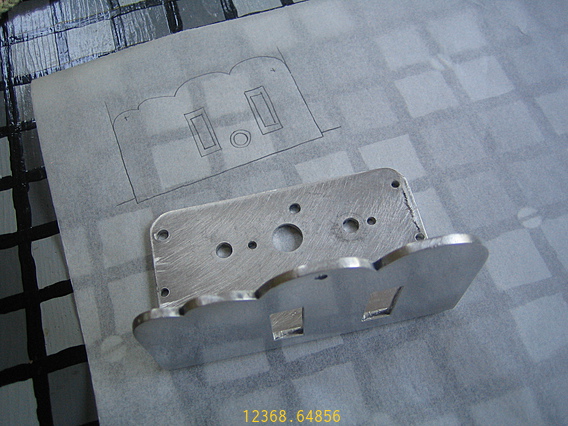
Original sketch with the final result (first version)
Second Version
These images actually show the first version of the switchplate, but it has changed since then. The first version was based on narrow SPST switches. After some testing I changed the circuit to use wider DPST switches. The “eyes” of the switch had to be widened to accommodate the larger switches.